How to photograph the Moon with any camera
The Moon is bright — the trick is treating it like a daytime subject. Exposure settings, lens choices, and the best phases for detail.
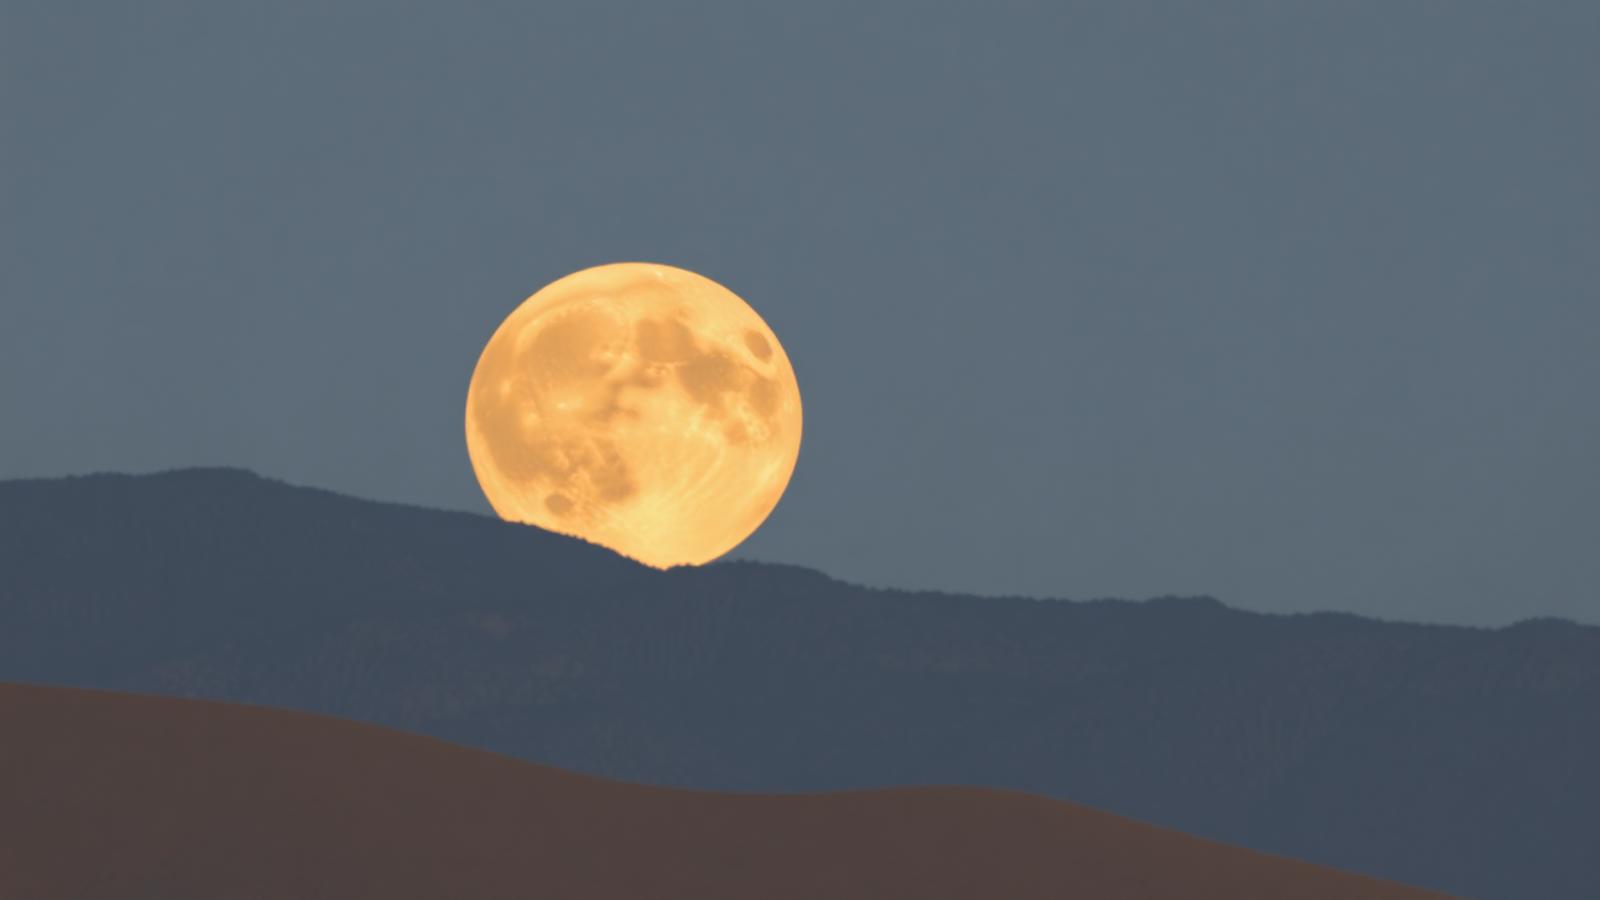
The Moon is the most photographed astronomical object on Earth, and also one of the most consistently overexposed. Most beginner Moon photos come out as a featureless white circle in a black sky — because the camera, seeing a mostly dark frame, assumes it needs to expose for the darkness and blows the Moon out. But the Moon is lit by the same Sun that lights the daytime Earth. It is, quite literally, a daytime subject. Treat it as one and your Moon shots suddenly show craters, mare, and the delicate ray systems of Tycho and Copernicus.
This guide covers the exposure basics, the equipment trade-offs, why phase matters more than magnification, and how to compose a Moon shot that isn't just another close-up of a rock.
Exposure: the "Looney 11" rule
There's an old daylight rule that says on a sunny day at ISO 100 you should use f/16 and a shutter speed of 1/100 s (the reciprocal of the ISO). The Moon's surface is roughly as bright as a mid-tone landscape on a sunny day, so a similar rule applies — with the aperture opened up a bit because the Moon isn't at zenith and the surface has an average reflectance around 12%.
The rule is called Looney 11: ISO 100, f/11, and shutter speed 1/100 s. Or equivalently ISO 200, f/11, 1/200 s. Or ISO 100, f/8, 1/200 s. Start there and adjust half a stop either way based on your camera's histogram — you want the Moon's bright limb close to but not touching the right edge of the histogram, with plenty of contrast in the mid-tones.
The main reason to shoot manual: the camera's meter will always try to average out the black sky. Any auto or aperture-priority setting will overexpose the Moon by three to five stops. Switch to full manual, dial in Looney 11, take one frame, check the histogram, adjust.
If you're shooting near full Moon, the Moon is even brighter — reduce exposure by one stop. If you're shooting a thin crescent, the Earthshine on the unlit side is far dimmer than the sunlit crescent, and you can't capture both in a single exposure without HDR blending. Choose one.
Equipment trade-offs: focal length is king
The Moon spans about 0.5° in the sky — roughly the same width as your little fingernail held at arm's length. In photographic terms, that's tiny. A phone camera at 1× produces a Moon that's maybe 40 pixels across in the final frame. Not useful.
The Moon's apparent size in your image is a direct function of your focal length (in 35mm equivalent):
At 24mm the Moon is a pinpoint in a landscape — good for compositions with a horizon.
At 100mm the Moon is a small but recognisable disc — good for including a foreground.
At 300mm the Moon fills a meaningful chunk of the frame — the standard telephoto Moon shot.
At 600mm and beyond, the Moon starts filling more than a third of the frame vertically — you get real crater detail.
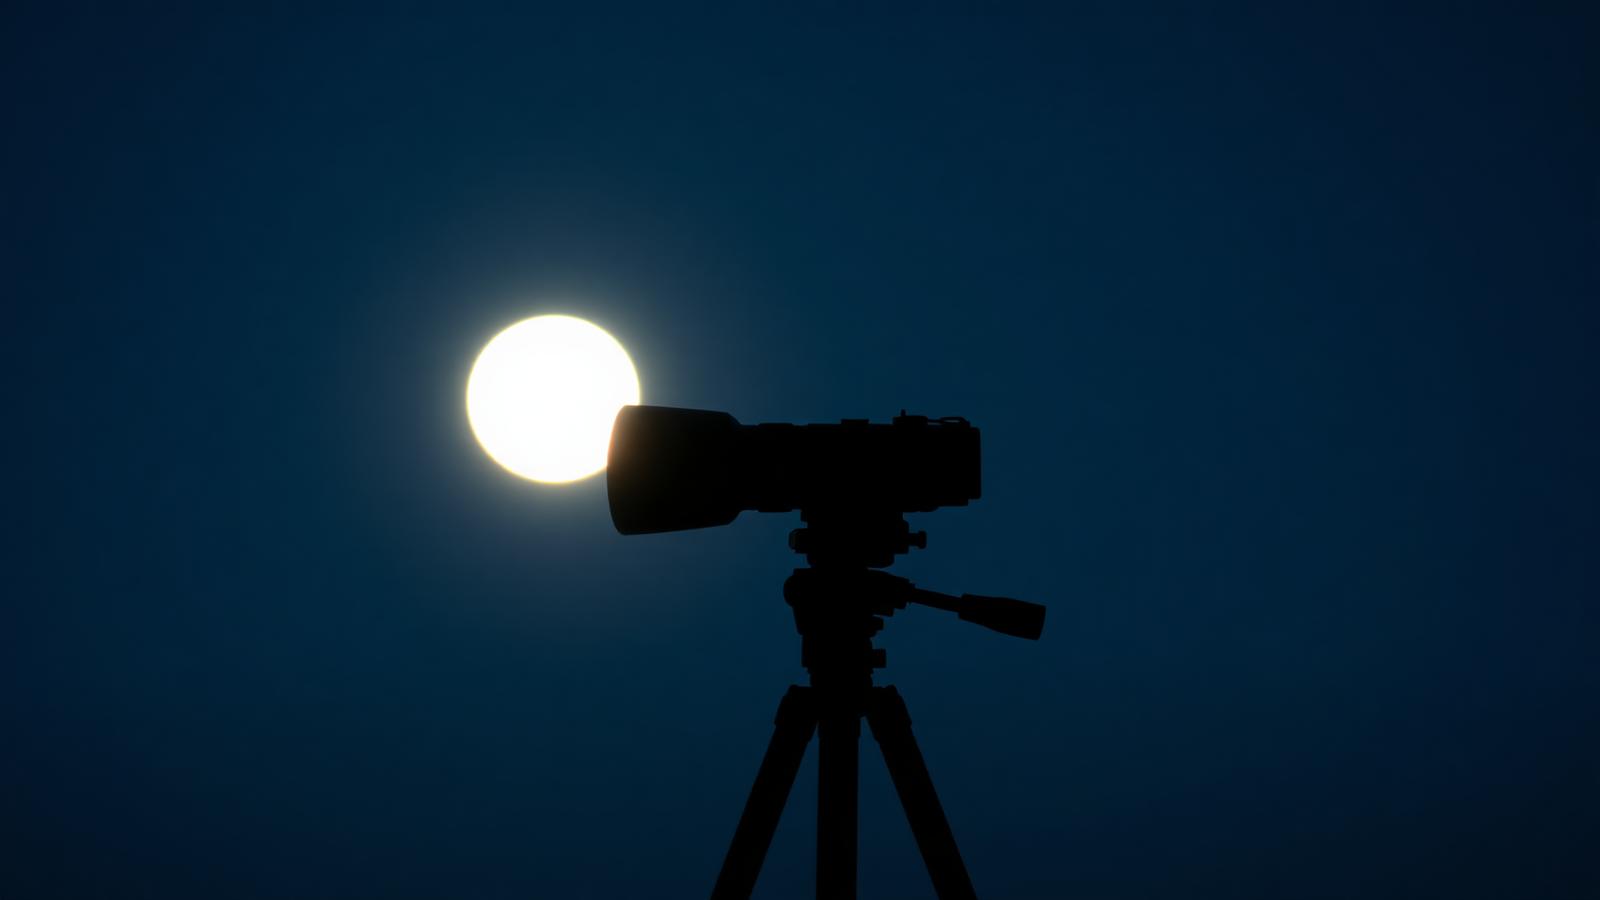
Modern phones with 5× or 10× optical zoom (typically 120mm–240mm equivalent) can produce respectable Moon shots. Any DSLR or mirrorless camera with a 200–300mm lens will do well. To really see Copernicus and Tycho's ray systems, you want a 500–800mm lens or a small telescope with a T-adapter. Anything longer than 300mm should be on a tripod — Moon photography is often ruined by camera shake at long focal lengths.
Phase beats magnification (usually)
The single biggest mistake beginners make is shooting the full Moon. Full Moon looks flat and washed out because the Sun is directly behind you (from the Moon's perspective) and there are almost no shadows. Every crater, mountain and rille looks the same brightness.
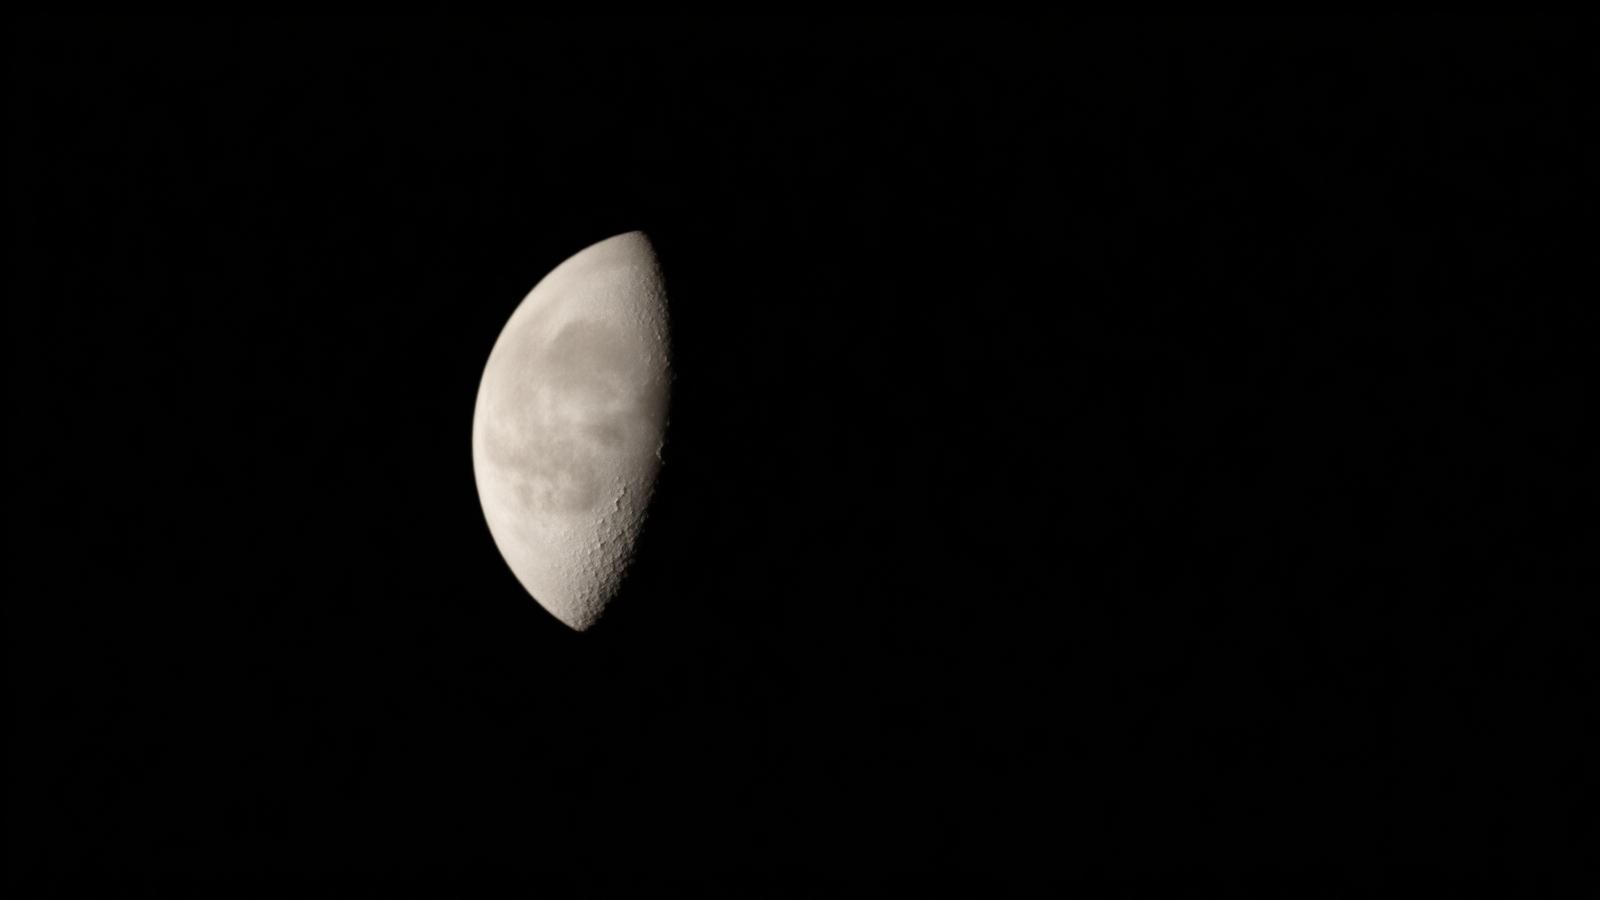
What you want is the Moon a couple of days either side of first or last quarter, when the Sun is grazing the lunar surface at a low angle and every feature casts a long, dramatic shadow. The line between light and shadow — the terminator — is where all the interesting texture lives. Craters look like real craters; mountain ranges throw shadows across the plains; the whole surface looks three-dimensional.
If you have to pick one phase to shoot, pick two days after first quarter (evening sky, sets around midnight) or two days after last quarter (morning sky, rises around midnight). At those phases the terminator crosses the most photogenic features on the Moon: the Apollo landing sites, the mare Serenitatis and Tranquillitatis, and the crater fields around the lunar south pole.
Focus, autofocus and stacking
Modern autofocus systems generally handle the Moon well when you place a focus point on the terminator (where contrast is highest). But autofocus can fail on a featureless full Moon or in low light. If your camera struggles, switch to manual focus and use magnified live view — zoom in on the terminator until the craters look sharp, then don't touch the focus ring again.
For serious detail work, astrophotographers use "lucky imaging": shoot 100+ frames as a video, throw away the ones blurred by atmospheric turbulence, and stack the sharpest 10% in software like Autostakkert. Free tools like PIPP and RegiStax will process the stack. The improvement is dramatic — a stacked image from a modest telescope can rival a single-frame image from a much larger one.
Composition: the Moon plus something else
A close-up of just the Moon is impressive once. After the tenth one, it starts to feel like the same shot with slightly different sharpness. The Moon photos that people actually remember include a foreground: a mountain, a monument, a person's silhouette, a lighthouse. That "Moon plus something" composition puts the Moon in scale and makes the image about somewhere rather than just something.
The trick with this kind of shot is compression. Use a long lens (200–400mm) from far away, and align yourself so the Moon appears directly behind your foreground subject at the moment it rises or sets. The Moon will appear enormous relative to the foreground because of telephoto compression — the same effect that makes distant mountains look like they're right on top of each other from a far-away vantage point.
Planning matters. Apps like PhotoPills or The Photographer's Ephemeris will tell you where the Moon will rise or set on any date. For a "Moon behind the mountain" shot, you often have a five-minute window on the right date at the right vantage point. It's worth scouting.
The Moon rises 50 minutes later each day on average, so the same rise position moves through the day-night cycle over the month. If you want the Moon rising at sunset (the classic "big orange Moon behind the horizon" shot), that's the full Moon. If you want a crescent Moon rising in daylight, that's the last quarter. Match the phase to the composition you want.
Handling the atmosphere
When the Moon is low on the horizon, you're shooting through a lot of atmosphere. It looks bigger (the Moon illusion) but the image will be softer, colour-shifted orange, and often distorted. For maximum sharpness, wait until the Moon is at least 30° above the horizon. For maximum romance, shoot it right on the horizon and accept the softness.
Rapidly changing conditions matter too. Even on "clear" nights, thin cirrus cloud can dramatically soften Moon detail. Take multiple frames over the course of an hour and pick the sharpest — atmospheric seeing changes minute to minute, and one frame in ten will often be noticeably better than the rest.
The Moon is the easiest astrophoto to attempt and one of the most rewarding to master. You don't need a dark site, a telescope, or a tracking mount. You need a lens, a tripod, manual mode, and the discipline to expose for daylight instead of night.
Editorial note
Quantitative claims on this page — dates, magnitudes, distances, times — are based on primary sources (NASA/JPL, NOAA SWPC, ESA, IAU, or peer-reviewed literature). Where relevant they're linked inline so you can check them yourself. Spot a mistake? Email snapcosmosplus@gmail.com and we'll correct it. See the editorial policy for sourcing and corrections.
Keep reading
Guides · 11 min
How to see the Milky Way with your own eyes
A practical, field-tested guide to spotting our galaxy — where to go, when to look, and how to actually see the galactic core with the naked eye.
Explainers · 9 min
Moon phases, simply explained (and why they're not Earth's shadow)
Why the Moon changes shape night after night, what a supermoon really is, and how to remember which phase is waxing, waning, gibbous or crescent.
Beginner · 8 min
How to spot the International Space Station from your backyard
The ISS is the third-brightest object in the sky after the Sun and Moon. Here's how to catch a pass tonight — no telescope required.